The little guide to electric fencing

Electric fencing will allow you to ensure the safety of your animals to protect them from pests. It will also keep them in an enclosed area to prevent them from going into areas of land where they should not be.
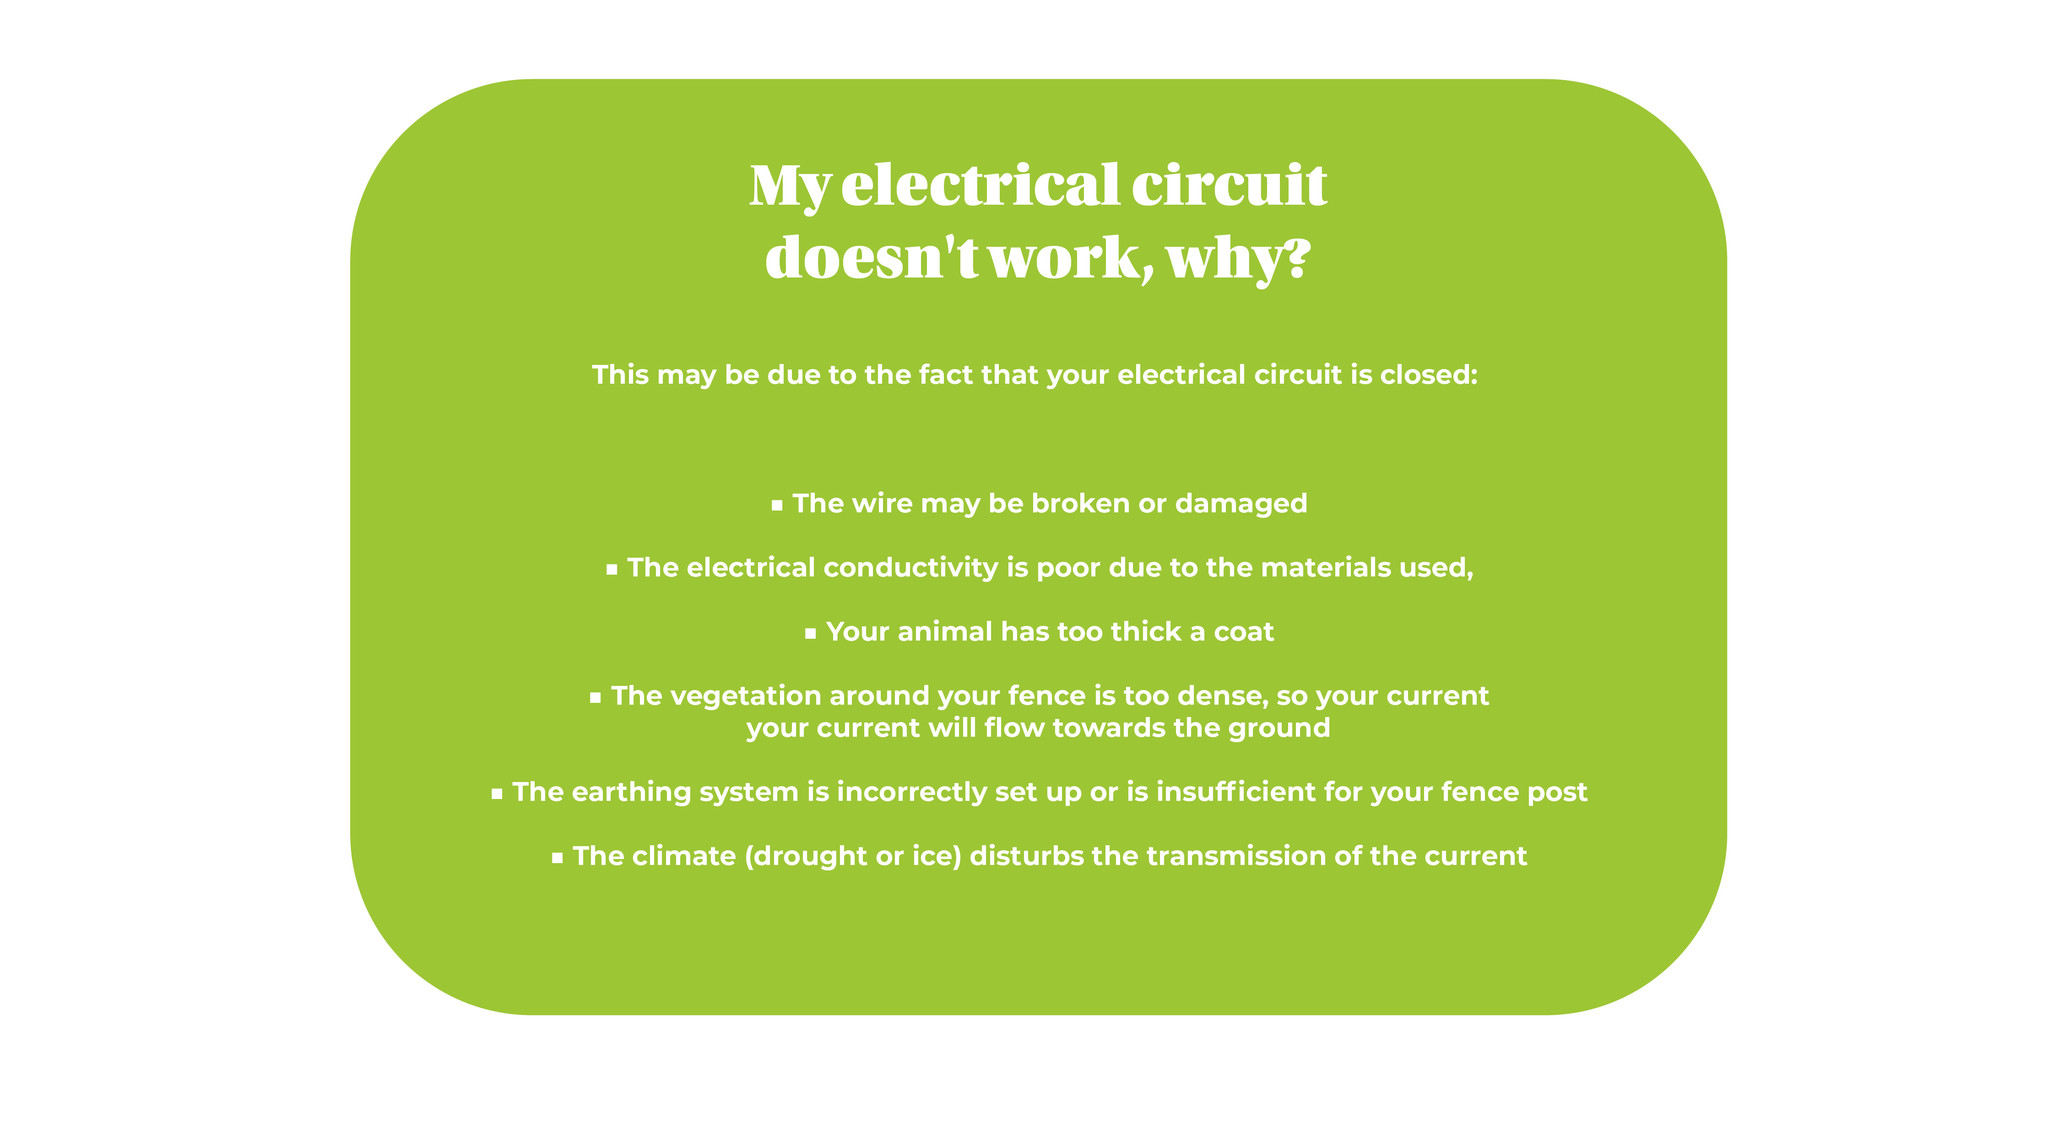
Its operation is simple. Through the fence post, a short electrical impulse is created, lasting about one millisecond. The fence wire and the earth will be the two elements that serve as conductors. When an animal touches the electrical circuit, an impulse is created on contact, and returns to the post via the earth, thus creating a closed circuit. When the circuit is open, there is no electrical impulse.
The installation
All conductive materials must be positioned in the best possible way and at the right distance to ensure its proper functioning.
Between the posts of your fence, be sure to respect these distances:
- For wires, 6 to 8 m depending on the weight of the conductive material
- For 40mm tapes count 3m, for 20mm tapes count 5m and for 10mm tapes count 6 to 8m.
- For ropes count 4m for a diameter of 6-8mm and 6m for a diameter of 5-6mm
Everything is important, starting with earthing
It is important not to neglect any step when installing your fence, starting with the grounding, which is the most important step. Without it, your fence will not work.
Make sure you plant the post in your soil in a damp place. Also check that the cable of your post is well screwed into the terminal of the energiser. Depending on the type of energy your energiser uses, we recommend that you install earth rods up to 1.5m long.
Choosing the right fence
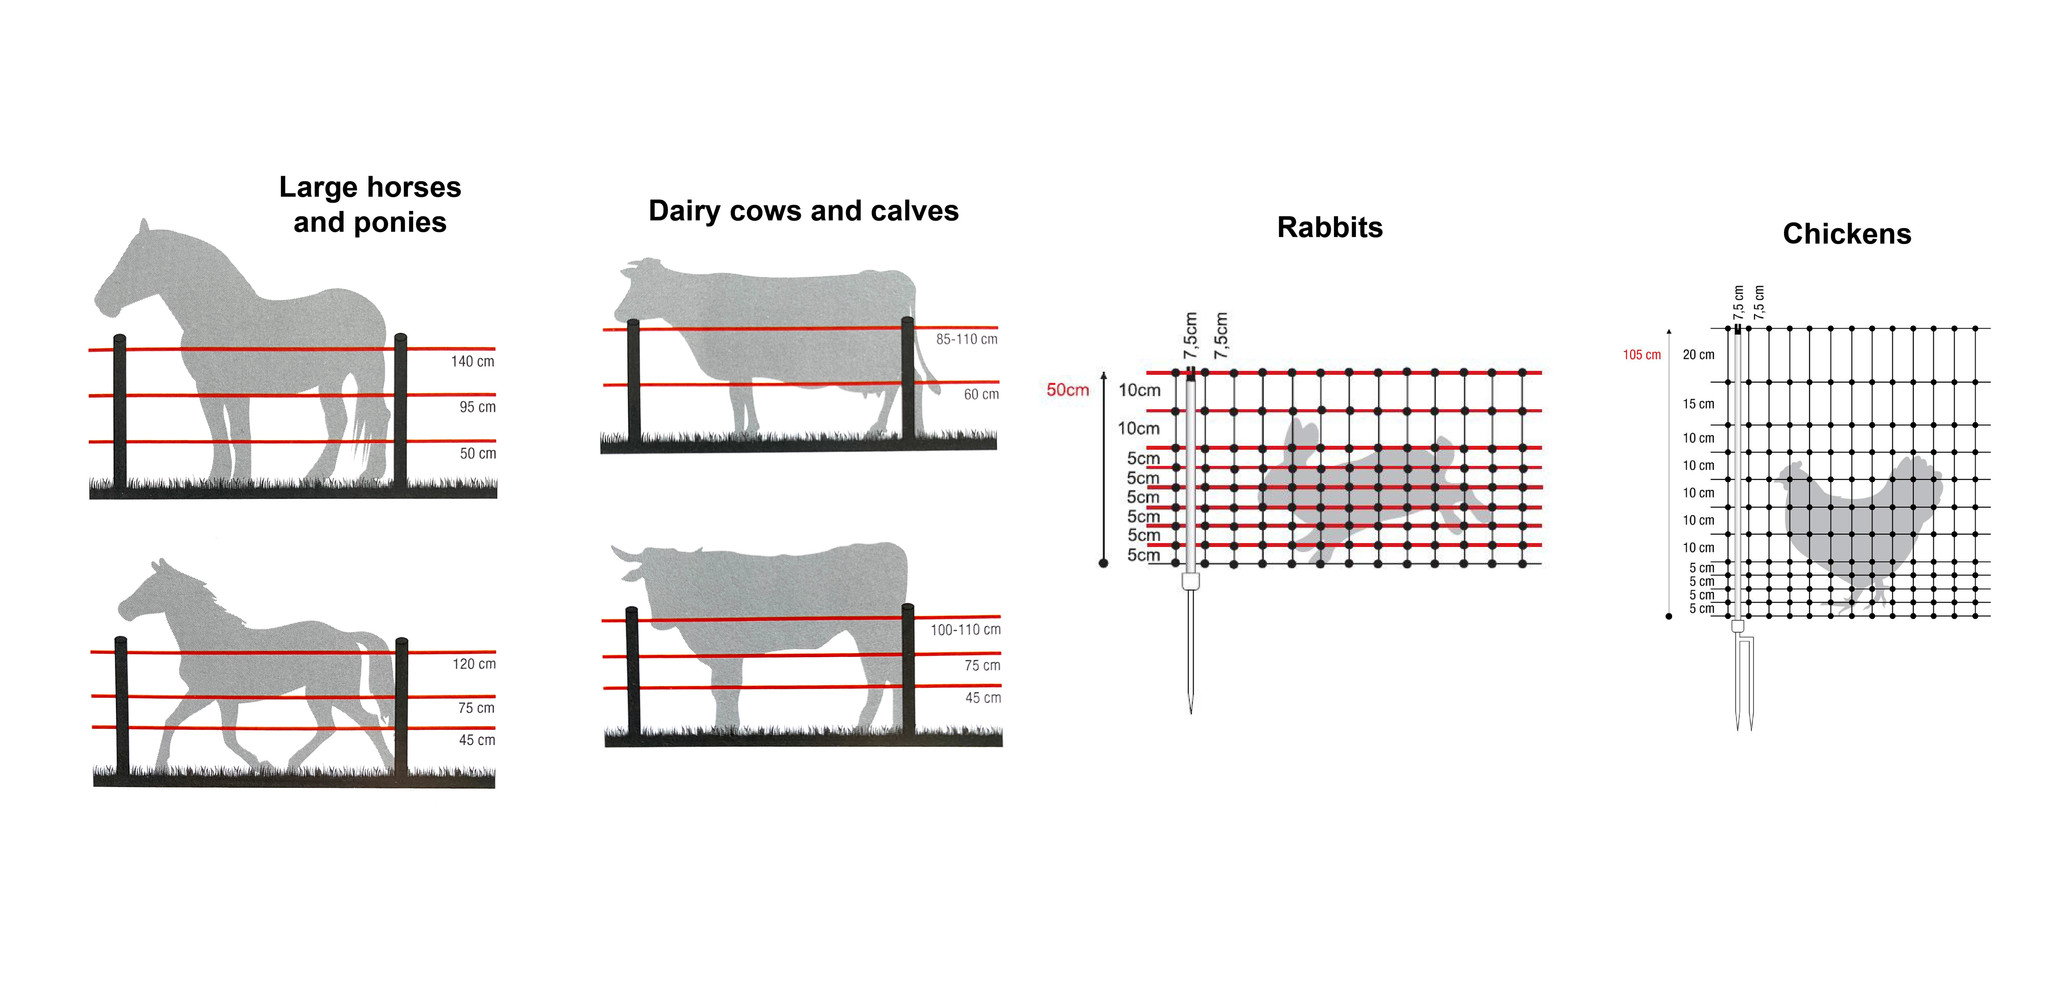
The right fence height for my pet
Cows: 60 to 90 cm
Large horses: 50 to 140 cm
Horses & Ponies: 45 to 120 cm
Sheep (nets): 30 to 120 cm
Goats (nets): 105-120 cm
Pigs: 20 to 50 cm
Dogs : 20 to 80 cm
Backyard & cats: 20 to 100 cm

Is your terrain uneven? Then adapt your layout by incorporating more stakes to reduce the recommended spacing and prevent the conductors from touching the ground.
Warning, fence! Please install warning signs to indicate that your electric fence is installed. If your fence is installed near a road or path, place the signs at regular intervals of about 50-100m. Attach them directly to the posts or conductors.
A fence yes, but which one to choose according to my animals?
Depending on your animals, the power to be included in your electric fence will not be the same. The larger the animal, the greater the electrical power required. Check the instructions and recommendations on the product to ensure optimum use.

The little Vocabulary of the electric fence
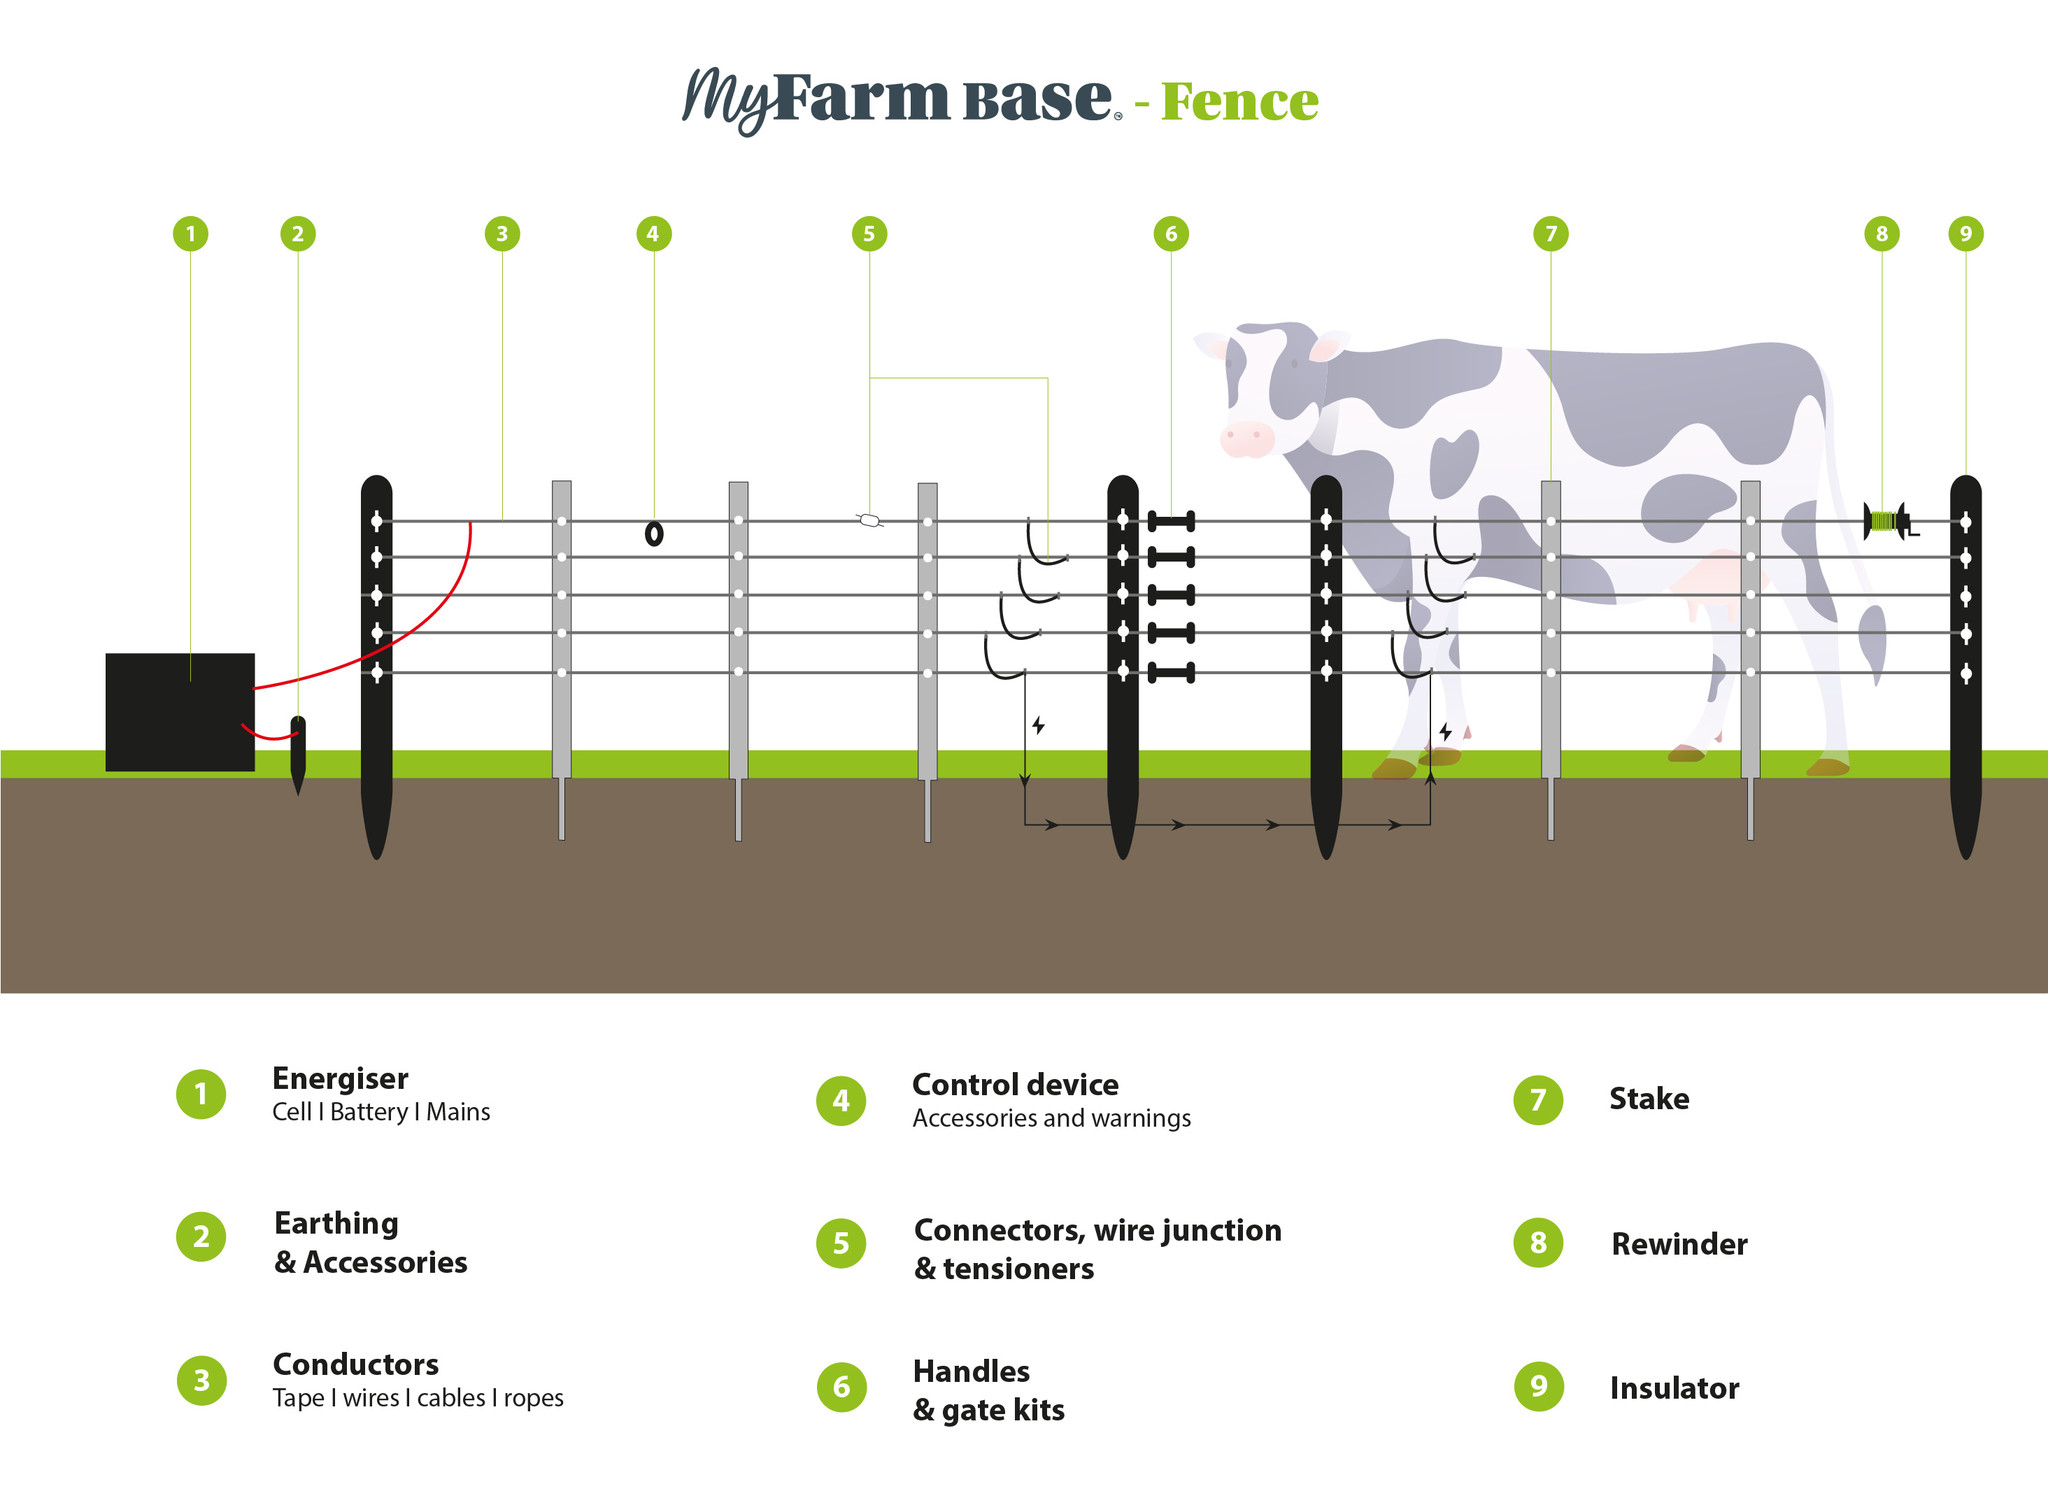
- Energiser: This is what will provide the necessary electrical impulse to your fence.
- Grounding: Post that allows for optimal electrical impulses in the fence.
- Conductors: These are the cables, tapes and ropes. This is what will carry the current.
- Controle Device: Used to identify the cause of a fence malfunction. Can also be used to measure the tension of a fence.
- Wire junction: Used to connect conductors (wires, tapes or cables) so that they are correctly installed to properly electrify the enclosure.
- Handle: Allows you to protect against electricity when opening or closing the fence
- Stake: Delineates your pasture and defines the space allowed for your animals.
- Rewinder: Makes fence installation faster, easier and safer. This tool is a time-saving aid when moving wires or cleaning up a mobile fence.
- Insulator: Keeps the wires tight and optimises the tension of the fence perfectly.

The Net: Allows you to protect and secure your animals from outside predators. This system is ideal for temporary installations and can be installed quickly.
Battery operated energiser: Battery-operated sets are quick and easy to set up. They are the most commonly used. When the battery is empty, you just have to take it to a recycling organisation.
The 9V Alkaline batteries (Alkaline battery 9V - 130 AH TURBOMAX AB130) are free of mercury and cadmium and are therefore totally environmentally friendly. They are totally adapted to work with battery powered energisers.
Advice:
- Remember to remove the adhesive on the top of the battery to ensure it works properly.
- Note the date of sale on the battery. The expiry date is indicated on the top of the case.


Comments
Be the first to comment...